In this article we will explain you about how to write the Test Cases by using TestNG frame. here we will learn how to setup the TestNG framework in the Eclipse.
Step 1: First you need to create a Java project
Open the eclipse > Click on File > Click on New > Click on Project

Then select Java Project and then click on next Button
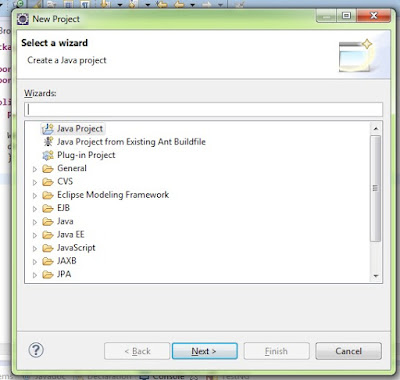 Then right the project name and click on Next button then click on Finish Button
 Step 2: Now You need to create the package
for create the Package, First click on the newly created Project
Then Right Click on src folder > Click on New > Click on Package

Then Type the package name and click on Finish Button
 Step 3: Now We need to create Class
Right Click on newly created package > click on New -> click on Class

Step 4: Now right click over the project name and select "Build Path" and then click on"Configure Build path"

Step 5: In new opening window select "Libraries"

Step 6: Now click on "Add Library" and select the TestNG from the next window and click on Next Button


Step 1: First you need to create a Java project
Open the eclipse > Click on File > Click on New > Click on Project

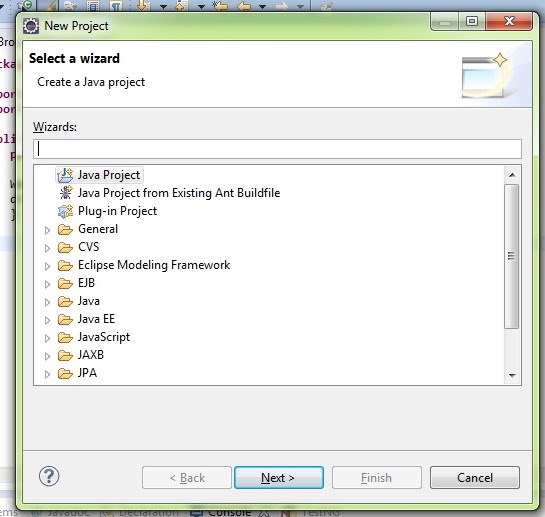
Then select Java Project and then click on next Button
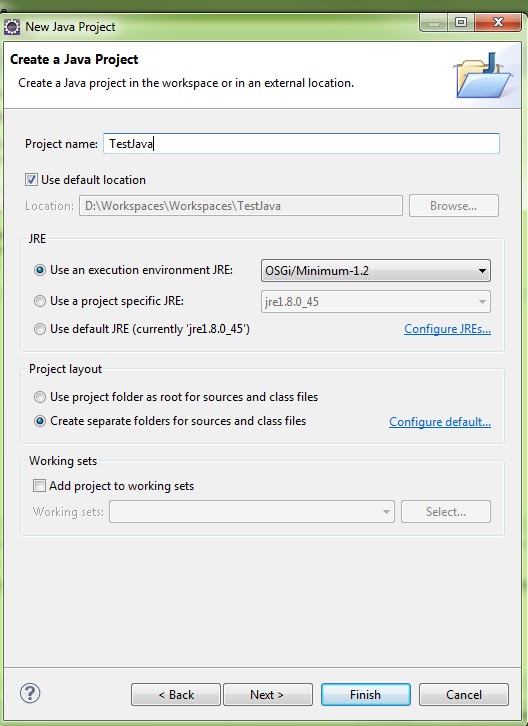
for create the Package, First click on the newly created Project
Then Right Click on src folder > Click on New > Click on Package

Then Type the package name and click on Finish Button

Right Click on newly created package > click on New -> click on Class

Step 4: Now right click over the project name and select "Build Path" and then click on"Configure Build path"

Step 5: In new opening window select "Libraries"

Step 6: Now click on "Add Library" and select the TestNG from the next window and click on Next Button


and then click on Finish Button. You will see the TestNG in Libraries

Now click on Ok button of that window.
Step 7: Now Right click on the newly created class and , Took the mouse over "TestNG" and click on "create TestNG class"
then following window will open

Put the valid class name and click on finish button
then following code is showing . Here you can write your code
Comments
Post a Comment